Ads!

Showing posts with label Platoon. Show all posts

Monday, June 13, 2011

Hot Toys Sergeant Barnes Platoon

Platoon was a damn good movie and the character of Sergeant Barnes (Tom Berenger) was one of the more memorable and cool characters.
Sergent Barnes was a bad ass...you don't get a scar running across the side of the face picking your groceries at your local market.
Damn...he is so bad ass that even a nalpham bomb dropped by a fighter jet could not kill him.

With Hot Toys doing the movie licence, we have already gotten Taylor and Barnes. As the hope of getting Elias starts to fade every day because this line will never be as popular as compared to Iron Man and Terminator, I must say that what we have got so far is pretty damn fine.

The packaging is pretty much the same as what we got for Taylor. Only difference is the front of the box which shows the picture of Sergent Barnes.


Over the years, Hot Toys has set a very high standard for sculpting and the way to rate them in sculpting is how close to perfection the sculpt is.
I must say this is pretty close to perfection.
Barnes has a very distinct look due to the heavy scarring on the side of the face and Hot Toys nailed it perfectly.
The resemblance to Tom Berenger who played Barnes is also very good. From the actual sculpt to the expression used is just perfect.

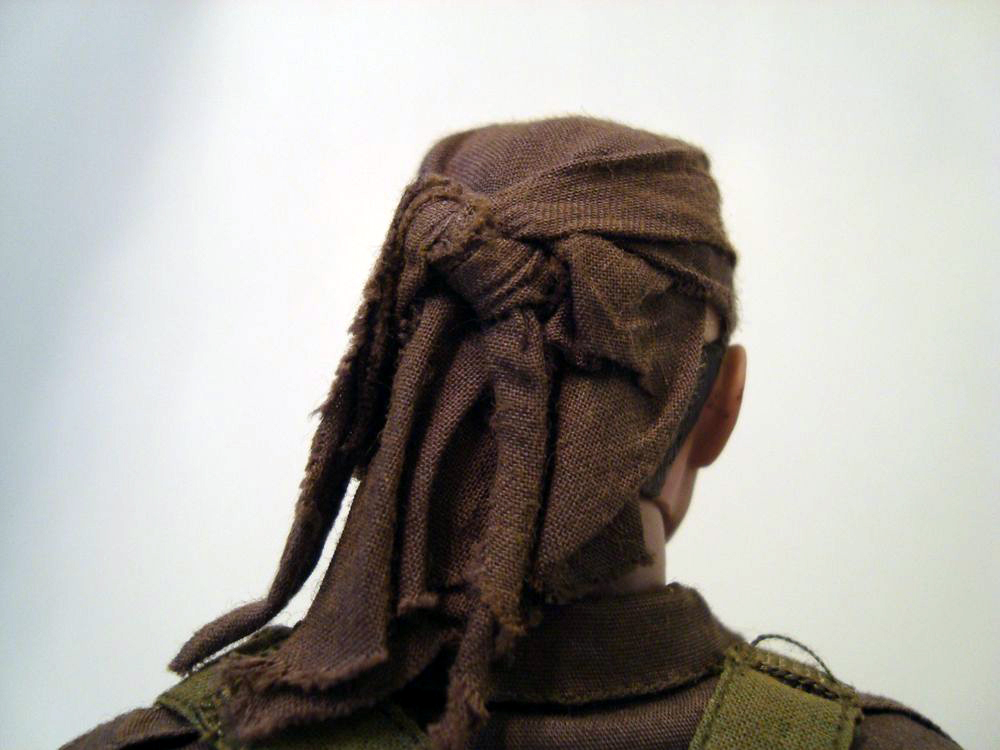
Just like the bandana used for Taylor, the do-rag for Barnes is also made of cloth and glued on. I like the approach here as it makes the sculpt more realistic. The only thing that I will nit pick is those little strains of hair sticking out of the do-rag at the forehead. Not that great looking but I appreciate the idea.

This time round, Barnes looks so much nicer with the helmet on as compared to Taylor.
Even though it is a pretty tight fit to put the helmet on due to the do-rag, I must say once it is on, the figure looks pretty nice.

Segeant Barnes


With the Helmet on


I really had a hard time putting on Taylor's accessories the last time round but this time round it was not that bad.
It was mainly because of two reasons:

1) Most of Barnes's accessories are re-use from Taylor. So with better experience, I had a much better time
2) Much lesser equipments as compared to Taylor hence lesser chance to break something.

Another cool thing this time, included in the instruction sheet is where to put the stuff onto the webbing. I am a sucker for screen accuracy so this was a big help.
The accessories as expected are amazing and the details so good.

With Barnes you get:
- CAR-15
- pistol
- pack of magazine
- bayonet with sheath
- push dagger with scabbard
- Two grenades
- Helmet
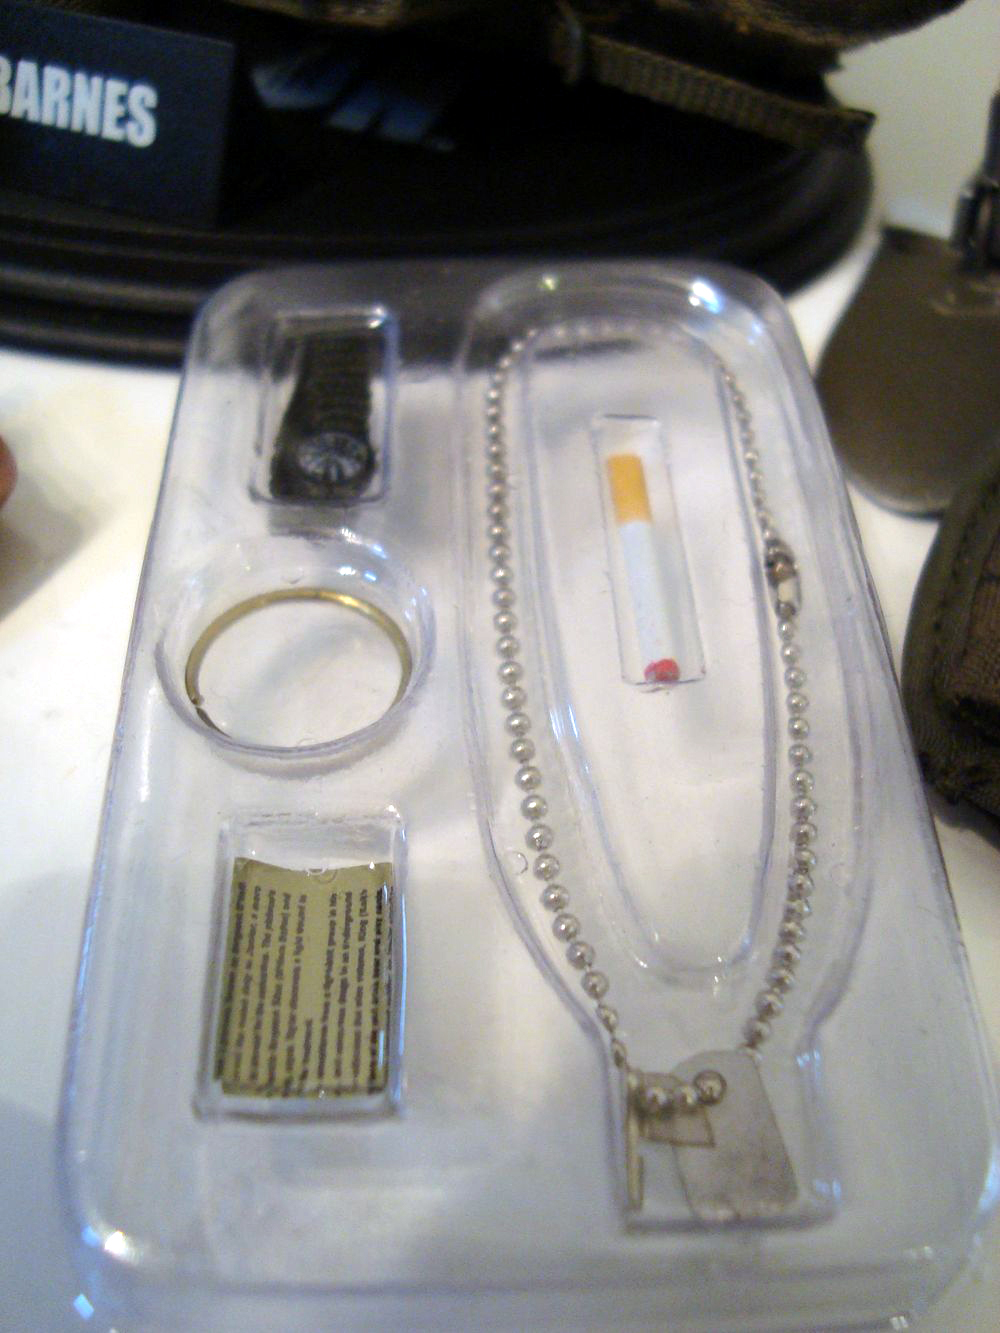
- Dog tag and can opener
- Webbing
- Bandoleer
- 3 big pouches and 1 small pouch
- Watch
- Bracelet
- A stick of cigarette
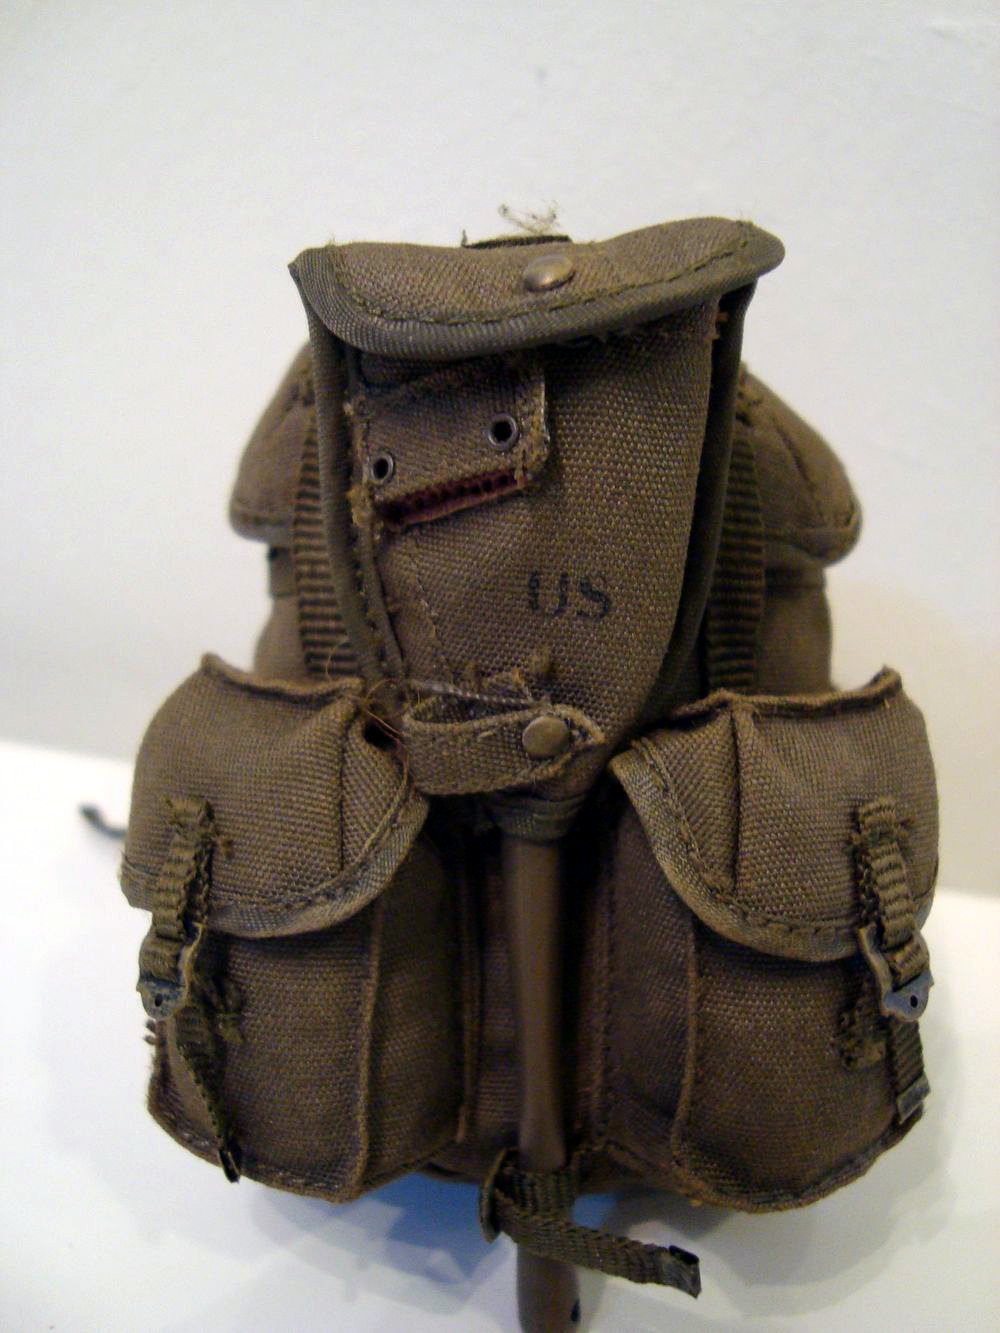
- Backpack
- Canteens with cover
- Entrenching tool (E-tool) with cover
- Figure stand
- 3 additional hands

All of Barnes's equipments


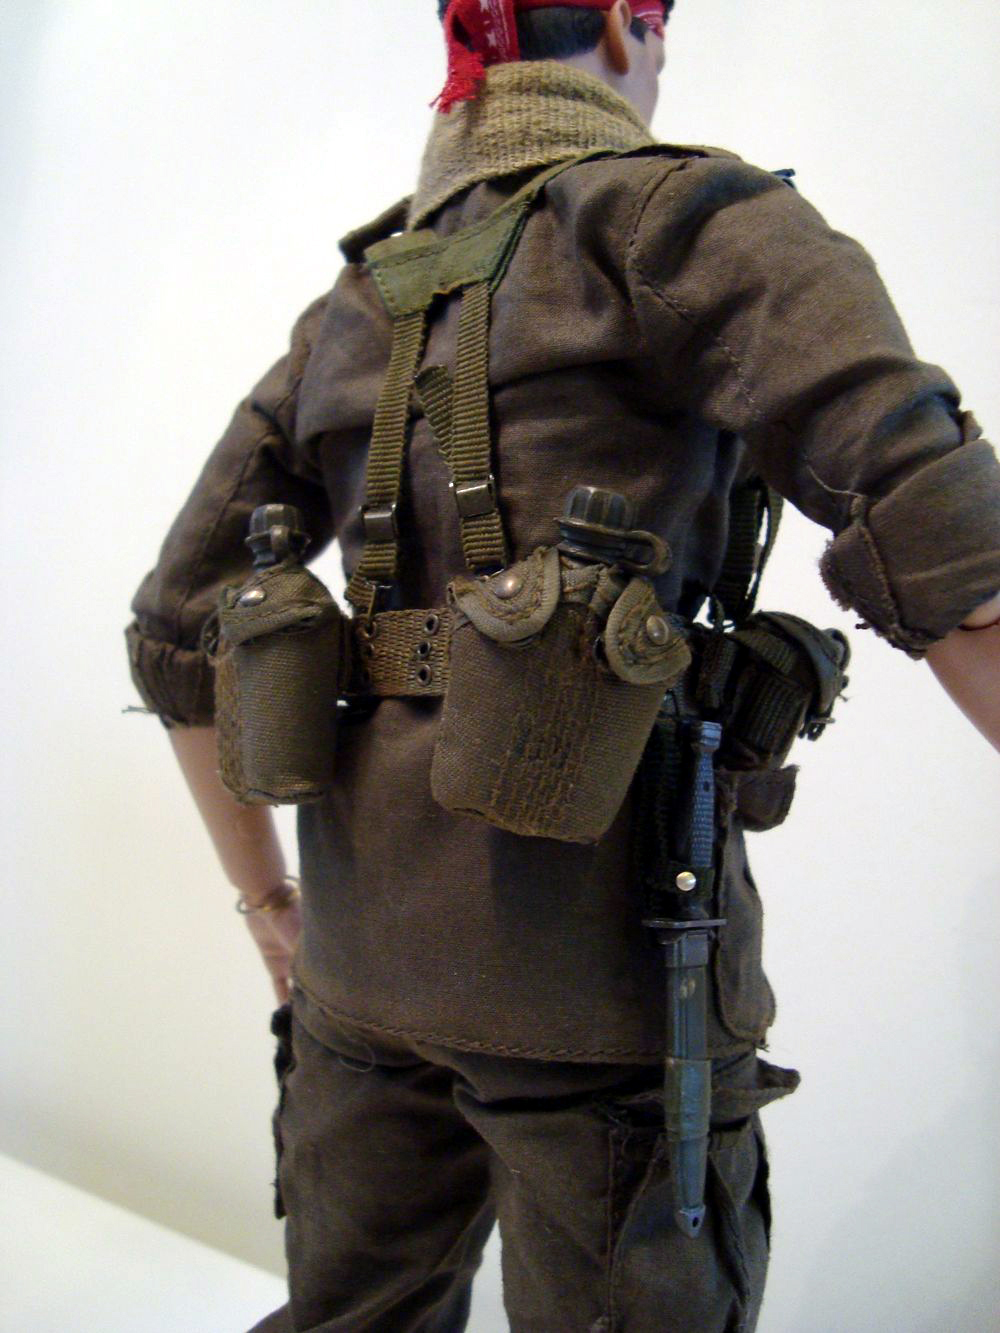
Just as I was beginning to breeze through getting the pouches, canteens and bayonet onto the webbing I realised that the small pouch which was already attached to the right side of the webbing was not movie accurate!
Arghhh! It was supposed to be on the left side. It took me an extra half an hour to switch it over.

Wrong Side


There is also some handi-work that needs to be done.
Included with the figure is a piece of green tape.
It is used to tape the scabbard of the push dagger onto the webbing.


All Done.


On top of that, the magazines are also needed to be taped together.
Soldiers usually do this so it is faster to load the gun.


Finally all the equipments are on the webbing.
It definitely took a lesser time as compared to the time taken for Taylor.


Barnes with his webbing


The Entrenching tool (E-tool) with cover and backpack is the same as Taylor's.


Another nit pick is that the body used is the same as Taylor's, however in real life Barnes is much taller than Taylor.
An easy fix but I think I can live with it...too lazy to correct it.

Overall I am very satisfied with Barnes.
Taylor and Barnes looks good displayed together.
Come on Hot Toys, give me Elias.

Sergeant Barnes


Sergeant Barnes in full battle order


Barnes and Taylor


Caught between a hard place and a rock!


You can also read the Sideshow version of Elias and Taylor here.

Tuesday, February 15, 2011

Hot Toys Chris Taylor Platoon

I have a love hate relationship with 12" figures.
I love the sculpting, details, articulation, cool accessories and cloth clothing but what I really really hate is putting those accessories onto the figure.
This is made worse for military figures which have many small accessories.
Hot Toys Chris Taylor figure in particular really pushed my threshold.
Sometimes I wish that the figure will just come packaged with all the accessories on.

On the positive note, I am glad that Hot Toys got the license for Platoon so I can get better and updated figures from what Sideshow had previously offered.
Hot Toys has produced Chris & Barnes and I hope they will continue the line with Elias.

The packaging is interesting and actually has some texture to it. The front of the box shows a picture of Taylor. At the back, the famous scene where Elias is gunned down after being betrayed by Barnes.
The packaging has a wrap around cover secured by magnets.


This is a very good sculpt of Charlie Sheen as Chris Taylor. I particularly like the expression used in this sculpt. It shows the "blurness" of Taylor as a newcomer to a platoon of battle hardened grunts!
An interesting feature of this figure is the interchangeable hair. You get the "spiky" hair which is the look we associate Taylor with and the flat hair meant to be used when you want to put the helmet on. Funny thing is, the helmet can't fit well when using the flat hair. In the end, I just did away with the hair. I think the fit is much better but less stable.
I also like the idea that the bandana is made of cloth and not sculpted on. It is glued on so my advise is not to try and take it out.
Spiky Hair


Flat Hair


Interchangeable hair


The helmet does not fit with the flat hair


A much better fit without the hair


Now we come to the accessories.
The accessories are really well made and the details are amazing. The only problem I had with them was getting them onto the figure. It was really hard work that it actually became unenjoyable after some time.

As this figure represent a character in a movie, I definitely wanted the accessories to be placed according to how it was placed in the movie.
I managed to find a forum with many screen shots to help me place the accessories in the right place. Do check it out if you want it to be screen accurate.

There are many accessories and I will group them into 5 main groups.
Group 1 - accessories for the webbing
Group 2 - accessories for the backpack
Group 3 - accessories for the claymore bag
Group 4 - Weapons
Group 5 - The rest

Group 1
2 large pouches, 1 small pouches, 2 canteens and the bayonet (not in pic)
There is a new way to attach the pouches onto the webbing. The method involves clips. At first glance, I thought that it would be very difficult to do. However after a few attempts, I got the hang of it.

Don't worry, there is an instruction sheet to teach you.


All done


Group 2
Machete and shovel & shovel pack.
The backpack is very well made and fits the figure very well. To me, it is the best accessory of the lot.
The machete does not fit very well into the sheath and keeps falling out.
The shovel pack can't be closed with or without the shovel. It might just be my figure (darn!)
In the picture, you can see the bayonet but it is meant to be attached to the webbing and not the backpack.


All packed up


Group 3
Claymore, trigger and wire.
In the bag, there is an instruction sheet on how to use the claymore mine. Talk about details!


Group 4
M-16, Rocket launcher with rocket, 2 grenades, 1 gas canister.
The M-16 also comes with some green tape for you to cut and wrap around the gun. This is to make it movie accurate.
The rocket launcher is amazing with lots of details. In the movie, the launcher is placed in the backpack. See pictures for group 3.
The 2 grenades and gas canister are placed with the webbing (see pictures for group 1)


Group 5
3 extra hands, 1 dog tag, the ankh, 2 red strings, helmet and his interchangeable hair.
The dog tag, ankh and red strings goes around his neck. However there is a smaller red string which I am not sure where it goes. In the screen shots, Taylor only wears 1 red string...maybe around his wrist. I am not too sure. I threw mine back into the box.
His helmet is cool and has the weathered look. It also has the cool inscription on the side - "When I die, bury me upside down so the world can kiss my ass".


The uniform is pretty well made but I felt that the pants could have been baggier which would have made it more screen accurate.
As for the towel that wrapped around Taylor's neck, I just could not make it flow like how it looked in the movie.

Overall, I am pleased that I got an updated and better version of Chris Taylor. I am looking forward to getting Barnes as I never got the Sideshow version of him.

I will end off this review with the ending quote of Taylor in the movie:
"I think now, looking back, we did not fight the enemy; we fought ourselves. The enemy was in us. The war is over for me now, but it will always be there, the rest of my days. As I'm sure Elias will be, fighting with Barnes for what Rhah called "possession of my soul." There are times since, I've felt like a child, born of those two fathers. But be that as it may, those of us who did make it have an obligation to build again. To teach to others what we know, and to try with what's left of our lives to find a goodness and a meaning to this life."

Taylor without his equipments


Taylor with his webbing


All geared up and ready for battle


LinkWithin

Related Posts with Thumbnails